If you've ever needed to put together a brochure fast, without hiring a designer or learning a new piece of software, Microsoft Word is probably already sitting on your computer waiting to help. Most people think of Word as a tool for writing letters and reports, but it's actually a surprisingly capable little design studio once you know where to look. You can build a clean, professional-looking digital brochure in Word in under an hour, and by the end of this guide, you'll know exactly how.
We'll also show you what to do once your brochure is finished — because a flat PDF sitting in a folder isn't going to get you very far. A little later, we'll walk through how to turn your finished Word brochure into an interactive, page-flipping digital brochure using ZipFlipBook.com, so it actually looks and feels like something worth sharing.
Let's get into it.
What Is a Digital Brochure, and Why Use Word to Make One?
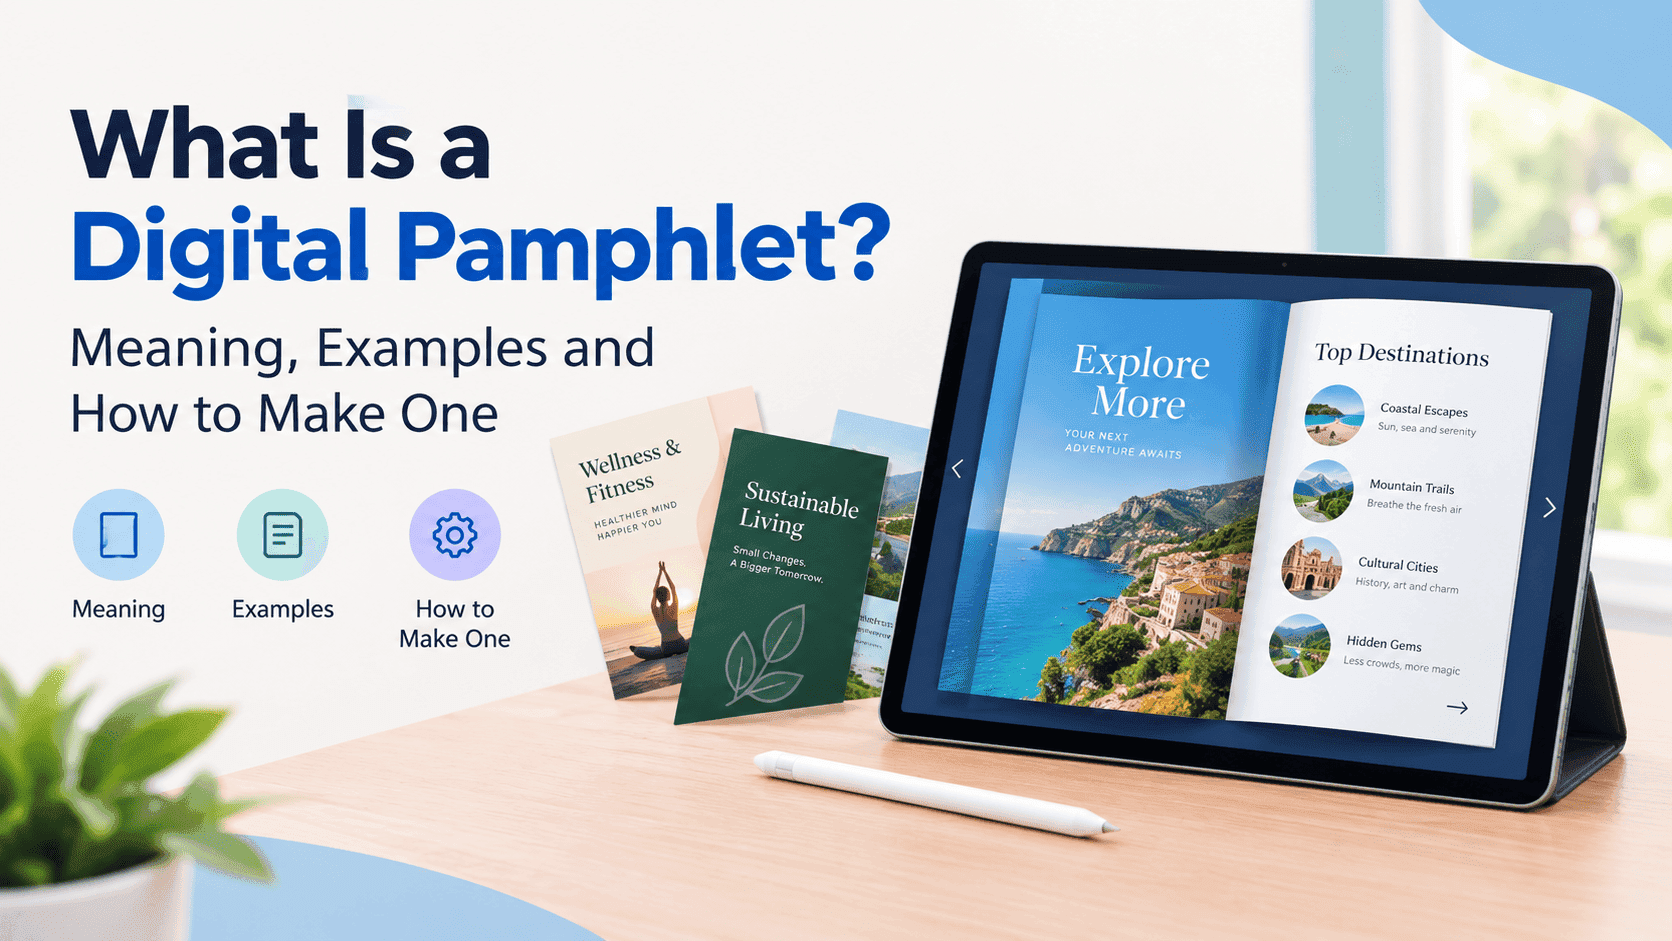
A digital brochure is simply a brochure designed to be viewed on a screen instead of printed on paper. It can be shared as a PDF, embedded on a website, sent through email, or posted on social media. Businesses use them for product catalogs, service overviews, event guides, real estate listings, restaurant menus, and pretty much anything else that used to live in a printed tri-fold.
Word is a great starting point for a few reasons:
- You already know how to use it. No learning curve, no new subscription.
- It has built-in templates. Word ships with brochure layouts you can customize in minutes.
- It exports cleanly to PDF. Which means your brochure is instantly shareable and viewable on any device.
- It's flexible. You can control fonts, colors, images, columns, and spacing with a level of precision that a lot of "easy" online tools don't actually give you.
The one thing Word can't do on its own is make your brochure feel interactive. That's where a tool like ZipFlipBook.com comes in later — but first, let's build the brochure itself.
Turn Your PDFs into Lead Generation Machines
Start getting highly-qualified leads from your PDFs and landing pages today. It takes exactly 2 minutes to set up.
No credit card required • Sign up in 10 seconds
Step 1: Choose the Right Brochure Format
Before opening Word, decide what shape your brochure needs to be. The most common digital brochure formats are:
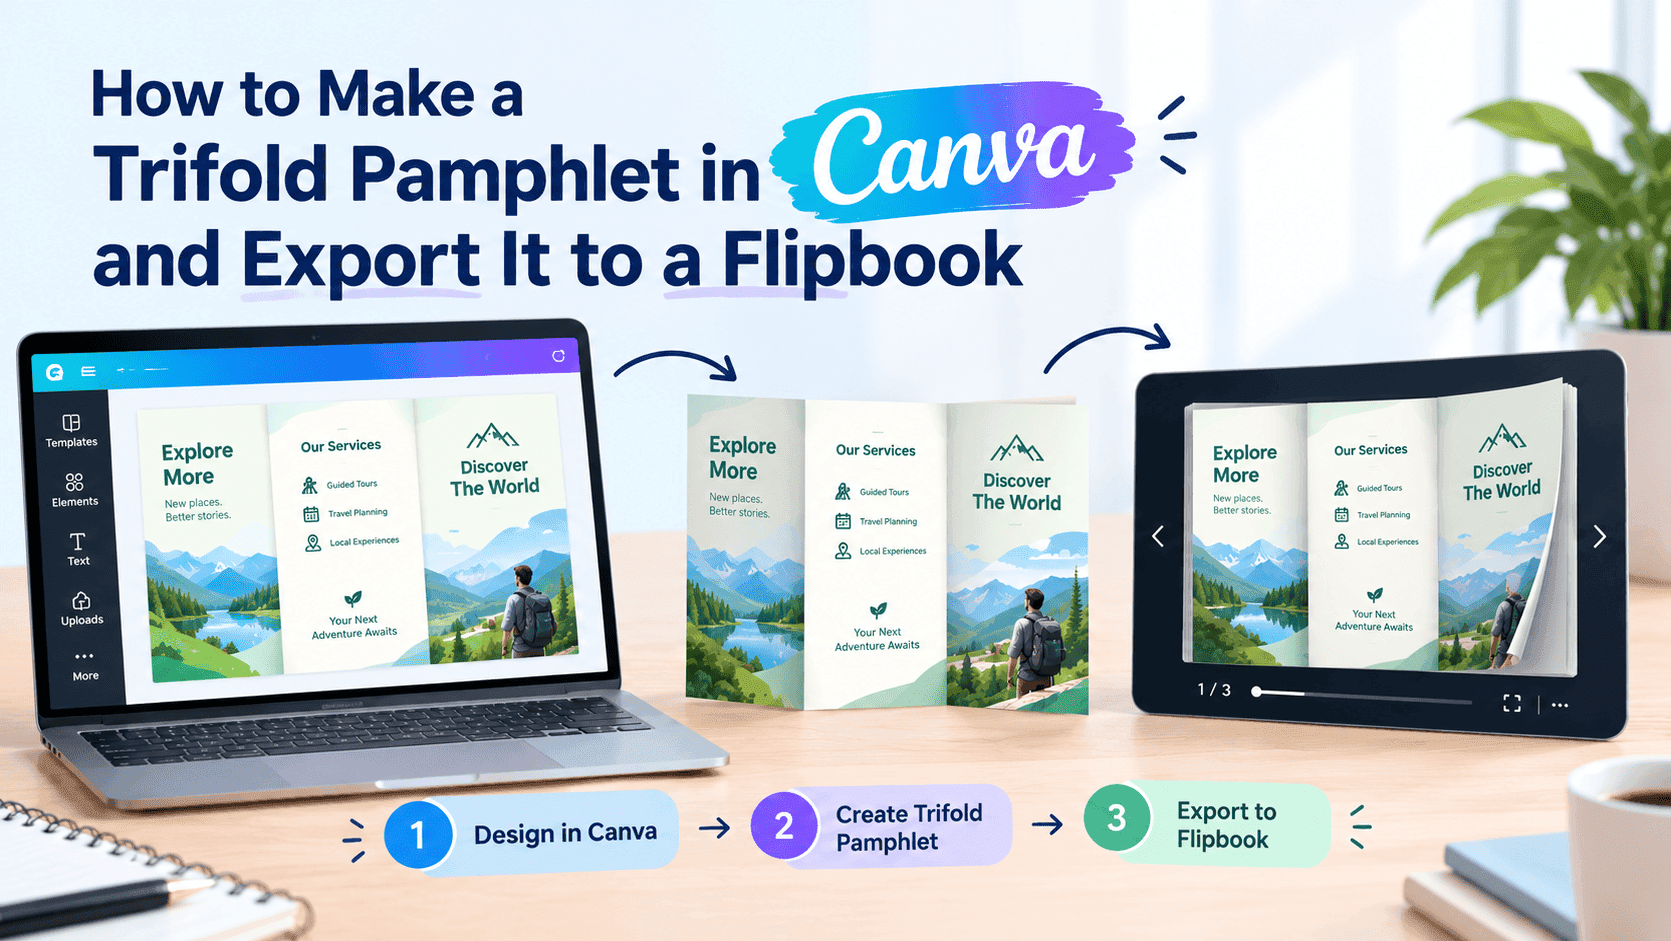
- Tri-fold (three panels): Great for product overviews, company introductions, or service menus.
- Bi-fold (two panels): Works well for simpler messaging, like a single event or offer.
- Single-page flyer style: Ideal for one clear call to action.
- Multi-page booklet: Best for catalogs, portfolios, or anything with a lot of content, like a full product line or an event guide.
If you're not sure which to pick, a tri-fold is the safest default. It gives you enough space to tell a story — problem, solution, offer — without overwhelming the reader.
Step 2: Open a Brochure Template in Word
You don't need to build your layout from a blank page. Word has templates built specifically for brochures, and starting from one will save you a huge amount of time.
Here's how to find them:
- Open Word and go to File > New.
- In the search bar, type "brochure."
- Browse the templates and pick one that's closest to the tone you want — clean and corporate, colorful and casual, or minimal and modern.
- Click Create to open it as a new document.
If none of the built-in templates feel right, you can also search "Word brochure template" online through Microsoft's template library, or start from a blank document and build your own layout using columns (more on that below).
Step 3: Set Up Your Page Layout and Columns
If you're building a tri-fold from scratch instead of using a template, you'll need to set up columns so the page folds correctly into three even panels.
- Go to the Layout tab.
- Click Orientation and select Landscape — most tri-fold brochures print and read horizontally.
- Click Columns and choose Three.
- Adjust the spacing between columns under Columns > More Columns if you want a bit more breathing room.
Landscape orientation with three columns gives you the classic fold structure: a front cover panel, a back panel, and an inside panel, mirrored on the other side of the page for the interior.
Step 4: Add Your Content, Panel by Panel
This is where your brochure starts to come alive. Think of each panel as its own mini page with a specific job:
- Front cover: Your business name, logo, and one strong headline that tells people exactly what this brochure is about.
- Inside panels: The details — your services, benefits, pricing, or product highlights. Use short paragraphs and bullet points rather than dense blocks of text.
- Back panel: Contact information, a call to action, website, phone number, and social handles.
A few writing tips that make a real difference:
- Lead with benefits, not features. Instead of "10 years of experience," try "Trusted by hundreds of happy customers since 2016."
- Keep sentences short. Brochures are skimmed, not read word for word.
- Use one clear call to action. "Call today," "Visit our website," or "Book a free consultation" — pick one and repeat it.
- Break up text with headers. Bold, short section titles help the eye find what it needs.
Step 5: Add Images and Graphics
A brochure with no visuals is just a flyer with extra folds. Word makes it easy to insert and format images:
- Click Insert > Pictures and choose an image from your computer or online sources.
- Once inserted, use Picture Format > Wrap Text to control how text flows around the image (Square or Tight usually work best for brochures).
- Resize images by dragging the corner handles — always the corner, never the edge, to keep the proportions correct.
- Use Picture Format > Corrections or Color to keep all your images visually consistent in brightness and tone.
If you don't have professional photography, high-quality stock photos or simple icon sets can go a long way in making a brochure feel polished rather than homemade.
Step 6: Choose Fonts and Colors That Match Your Brand
Consistency is what separates a brochure that looks professional from one that looks like it was thrown together in five minutes.
- Stick to two fonts maximum — one for headings, one for body text.
- Use your brand colors if you have them. Go to Design > Colors to set a custom color theme that applies across the whole document.
- Keep font sizes consistent across similar elements. All your section headers should be the same size, and all your body text should match too.
- Leave white space. Cramming every inch of the page with text or images makes a brochure harder to read, not more impressive.
Step 7: Proofread and Preview
Before you finalize anything, switch to Print Layout or use File > Print to preview how the panels will look folded. This step catches a surprising number of mistakes — text that's too close to a fold line, images that get cut off awkwardly, or panels that don't line up the way you expected.
Read the whole thing out loud once. It sounds simple, but it catches typos and awkward phrasing that your eyes tend to skip over when reading silently.
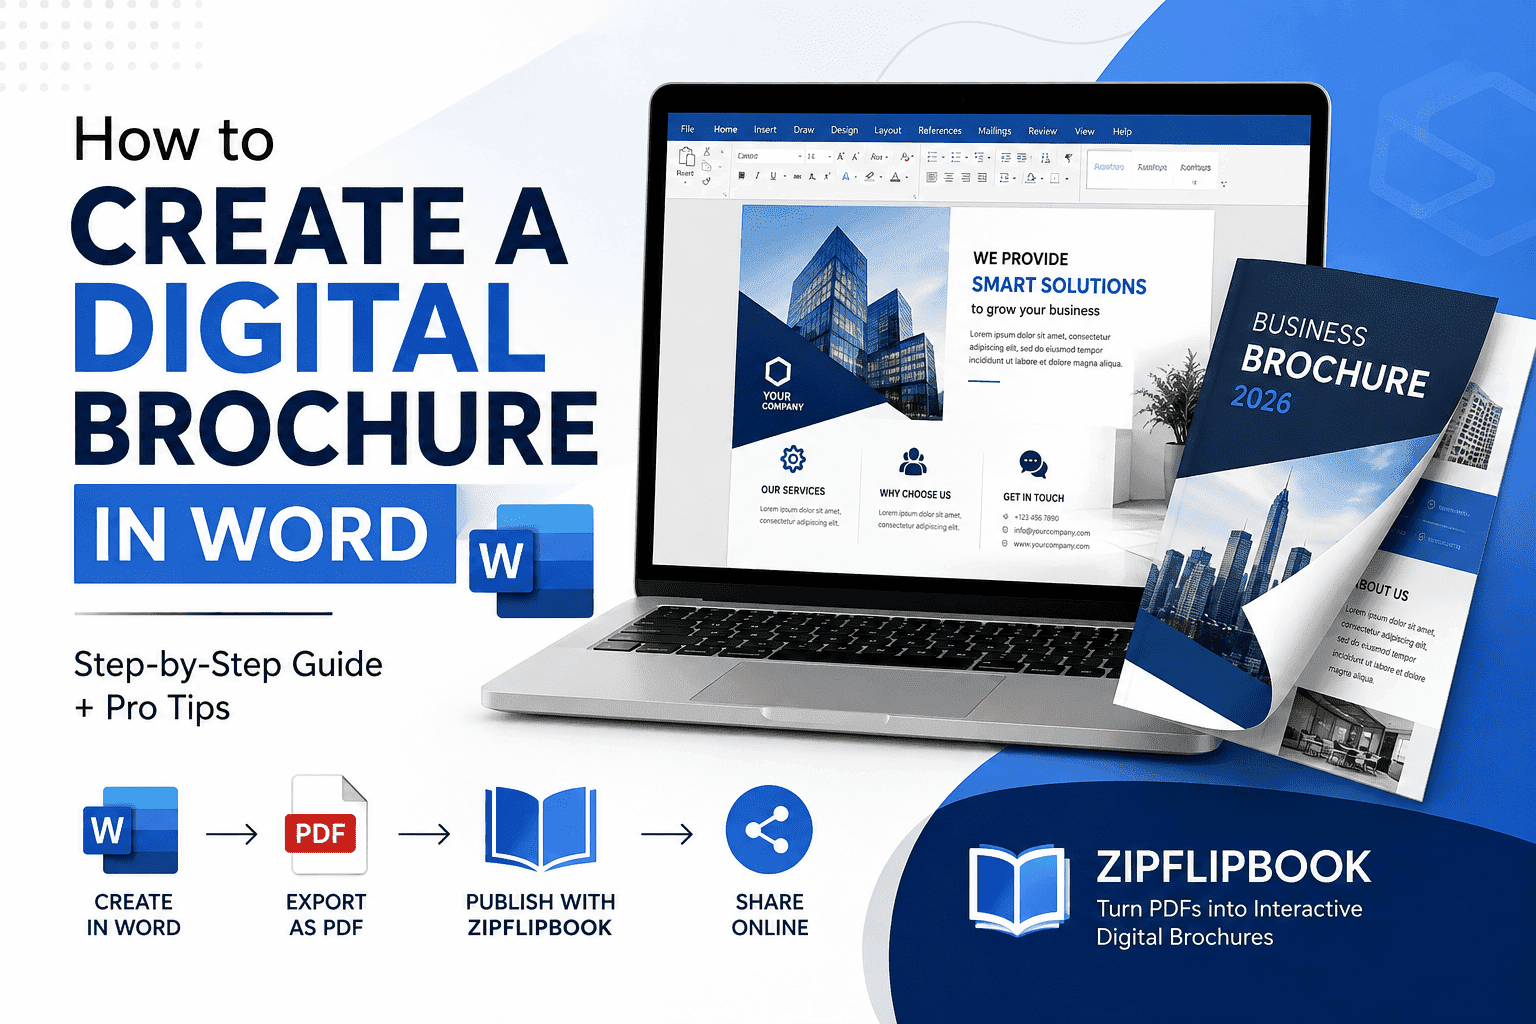
Step 8: Export Your Brochure as a PDF
Once everything looks right, save your brochure as a PDF so it's easy to share and looks the same on every device:
- Go to File > Save As (or Export).
- Choose PDF from the file type dropdown.
- Click Save.
At this point, you technically have a finished digital brochure. You could stop here, attach the PDF to an email, and call it done.
But if you want your brochure to actually stand out — especially if you're sending it to prospects, clients, or posting it online — a static PDF isn't going to cut it in 2026. This is exactly the gap ZipFlipBook.com is built to close.
Step 9: Turn Your Word Brochure Into an Interactive Flipbook with ZipFlipBook.com
Here's the problem with a plain PDF brochure: it doesn't feel like a brochure. There's no page-turning motion, no sense of physically flipping through something, and on a lot of devices, PDFs open awkwardly or get buried in a downloads folder instead of being viewed.
ZipFlipBook.com solves this by converting your Word-made PDF brochure into a realistic, interactive online flipbook — the same page-turn effect you'd get holding a physical brochure, but viewable instantly from any browser or device, no app or download required.
Here's how simple the process is:
- Finish your brochure in Word and export it as a PDF (exactly what we walked through above).
- Upload that PDF to ZipFlipBook.com.
- Within moments, your brochure becomes a fully interactive digital flipbook, complete with realistic page-turning animations.
- Share it with a simple link, embed it directly on your website, or distribute it through email and social media.
Why does this matter? Because presentation affects perception. A brochure that flips like a real one feels more polished, more trustworthy, and more engaging than a PDF someone has to scroll or zoom through. It also tends to keep readers looking longer, which means your message — your offer, your product, your call to action — actually gets seen.
ZipFlipBook.com is especially useful if you're:
- A small business owner sending brochures to potential clients
- A real estate agent showcasing property listings
- An event planner distributing guides or programs
- A restaurant sharing a digital menu
- A marketing team turning catalogs and lookbooks into shareable online experiences
Because the platform is built specifically around this one job — making documents feel interactive and professional — it takes only a few minutes to go from a finished Word document to a shareable flipbook link.
Turn Your PDFs into Lead Generation Machines
Start getting highly-qualified leads from your PDFs and landing pages today. It takes exactly 2 minutes to set up.
No credit card required • Sign up in 10 seconds
Quick Recap: From Blank Page to Interactive Brochure
Here's the whole process in one glance:
- Decide on your brochure format (tri-fold, bi-fold, flyer, or booklet).
- Open a Word brochure template, or set up landscape orientation with columns.
- Fill in your content panel by panel, leading with strong headlines and clear calls to action.
- Add images and keep visuals consistent.
- Apply consistent fonts and brand colors.
- Preview and proofread carefully.
- Export as a PDF.
- Upload your PDF to ZipFlipBook.com to turn it into an interactive, page-flipping digital brochure.
Final Thoughts
Word gives you everything you need to design a genuinely good-looking brochure without hiring outside help or learning new software. The templates, layout tools, and formatting options are more than capable of producing something professional, especially once you follow a clear structure like the one above.
But the final step is what makes the difference between a brochure that gets opened once and forgotten, and one that actually gets shared, read, and remembered. Converting your finished PDF into an interactive flipbook with ZipFlipBook.com takes just a few minutes and instantly makes your brochure feel more current, more engaging, and more professional.
If you've just finished building your brochure in Word, the next step is simple: head over to ZipFlipBook.com, upload your PDF, and watch it come to life.